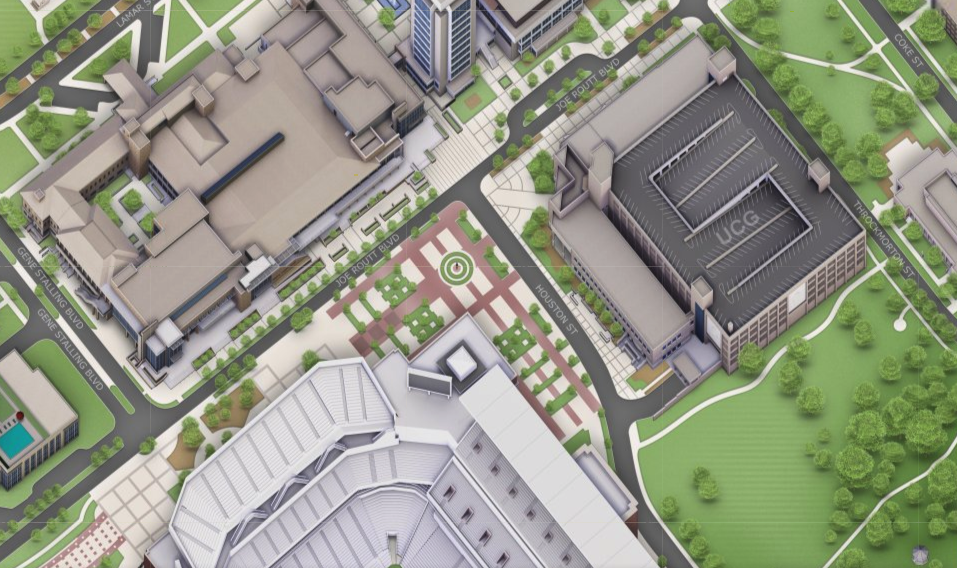
Building maps is serious business. And we’d like to give a big shoutout to our Design and Production team based in Minneapolis and led by none other than our VP of Design and Development, Zack Mertz, who’s chops with SketchUp and pretty much anything 3D modeling and production run deep. He was doing this way back before it was a thing :)
This post gives a snapshot of how we do what we do, with a healthy dose of oversimplification. There’s a lot more that goes into the process to make sure that what we provide our clients – whether they be a data center, manufacturing facility, university, hospital or convention center – with stunningly realistic 3D models of their space, all built into our software that makes the models interactive.
So grab a cup of coffee or a bowl of popcorn, and here we go!
How Concept3D Builds Maps – The 5 Major Steps
Step 1: Capture Imagery

Reference the Content Management System (CMS) Render Boundary
The first step in the map creation process is to establish the boundaries of the areas that wil
l be mapped out in 3D, and the same area within which our clients will be able to manage the content of their map (e.g. information about buildings, wayfinding routes, points-of-interest – anything they want to highlight). For some maps, this may include several different bounded areas of varying sizes and shapes, and on other maps this can be one bounded area with a relatively simple shape.

Stitch Imagery
Once the boundaries have been laid out, Concept3D’s engineers begin to stitch together satellite imagery from Google Maps in the content management system. Using exact coordinates from within the map boundary, the images are added piece-by-piece until all of the areas to be mapped out are included in the CMS.
Step 2: Photoshop Prep
Vector & Raster
In step two of the mapping process, our team begins to develop vector graphics. This is the process that creates the digital images that place lines and shapes in the given three-dimensional space. Put simply, this is the step that creates the aesthetically pleasing 3D renders for each map.
Once the images have been created, they are saved as a raster graphic. A raster image represents a grid of pixels, or points of color, that can be viewed on a computer monitor. This is the final step before the actual photoshop process begins.
Step 3: Map Tiler
Map Coordinates
Tiling is the most tedious step of the entire map building process. Before the tiling can get underway, the KML (Keyhole Markup Language) document must be authored in Google by taking the coordinates of the map area. KML is a file format that is used to display geographic data in an Earth browser.
Tile! / Upload Zip to CMS
Once the KML file is ready to go, it’s time to tile! TIF or PNG raster images are saved in a zipped folder to represent an individual tile for the map. The zipped folder can then be uploaded into the CMS to begin the overlay process, which allows you to “drape” images onto the Earth’s terrain.

Step 4: Image Size
Large and in Charge
The image size of 3D maps are impressive. The image quality of a map on the web is 72PPI (pixels per inch) and print images are at 300DPI (dots per inch).
Step 5: The Edits
Revisit, Revise
Just like the completion of any large project, ample time for revising the map is crucial. It is inevitable that errors will be found. Some edits are easy, quick fixes, whereas other changes can be difficult and fairly labor intensive.
Editing lines in a parking lot or adding in a small bridge are simple fixes that can be made without worry. Changing complex walking paths or taking new real-life photos then adding them into a location description are much more time-consuming and pose a bit of a challenge to map builders.
The map building process has the same basic structure no matter the size or complexity of the map. From the beginning to the end, map builders must pay extremely close attention to detail and thoroughly complete all of the steps within each stage.