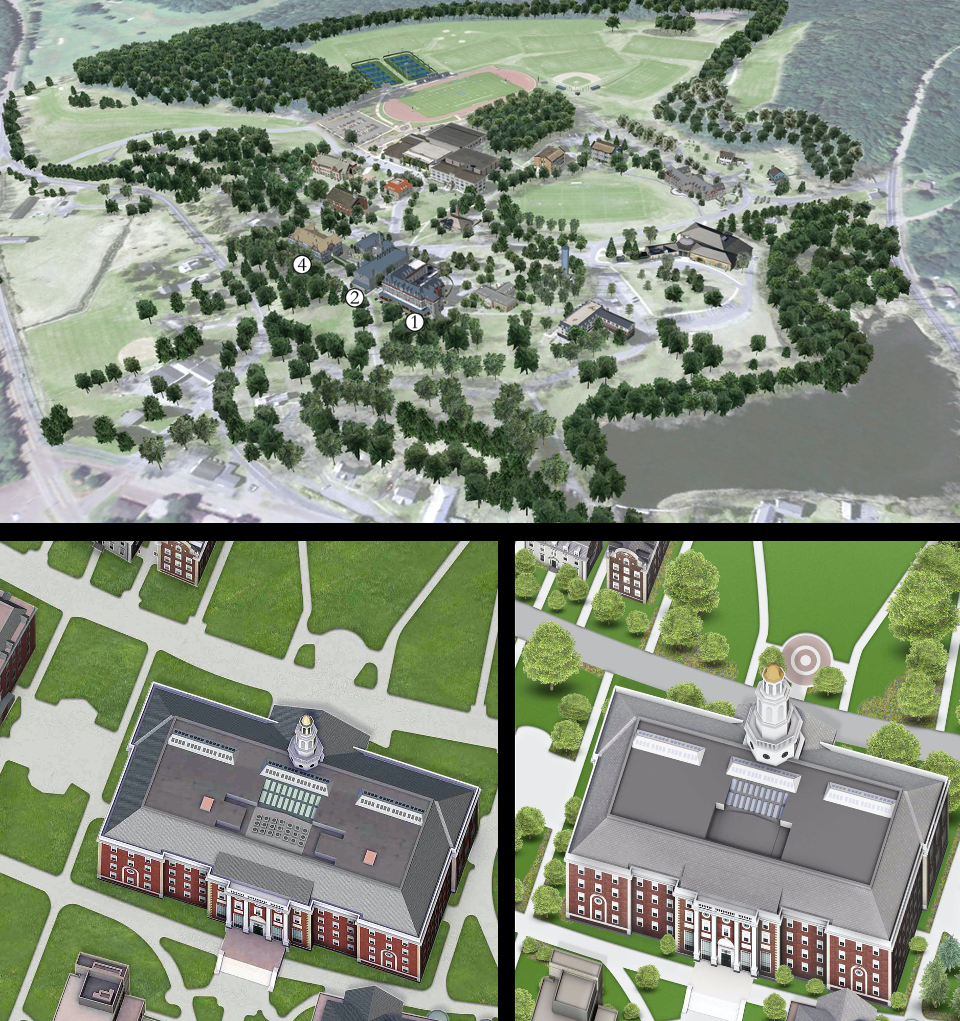
Concept3D at its beginnings, 14 years ago, was a pioneering 3D rendering company; the interactive map and virtual tour software came a few years later. The process has evolved in that time to become unique to Concept3D.
The Steps
Concept3D’s 3D rendering process is:
- Grass & Roads
- Paths
- Sports
- Building
- Trees
- Details
- Labels
See the steps yourself here.
Grass, Paths, and Sports
Grass, path, and sports areas create the outline or guide for the entire 3D rendering. At this point in the process, the rendering ‘looks’ flat since no texture or details other than the very basics of sports fields is included. Major outside areas like a playing field are included at this point, so during the next steps, when the buildings and trees are added, these do not get overshadowed or lost.
Buildings & Trees
The buildings and trees are rendered separately then placed within the outline formed by the grass, paths, and playing fields. By creating the structures one by one more intricate and realistic end product. Each building is made with multiple rendering and design software. This allows each building’s unique attributes to be highlighted. Trees are also created outside the main map rendering but for a very different reason. Only a few tree renderings are used, strategically resized, altered opacity and placed to represent real-life trees but are not the same species of trees. This is for accurately representing vegetation areas but not distract from the points of interest.
Details & Labels
The final steps of the rendering process is adding details to the rendering itself and labels if necessary. Details are the finishing touches make sure the rendering is a complete and accurate representation. For example, adding texture to a field in a common wear pattern.

Labels are actually an overlay placed over the rendering. The labels can be ‘burned’ into the rendering aka made permanent. However, by using a label overlay rather than part of the rendering it can be easily turned on when the labels are needed for information and positioning but then turned off to clearly see the details of the 3D rendering for marketing purposes.
This blog is the second of four user guides for Concept3D’s interactive map guides. In addition, to Render Process, there are interactive map guides for Concept3D features, our clients, and map styles. Keep an eye out for the rest!


